
Environment Design: Making of the scene
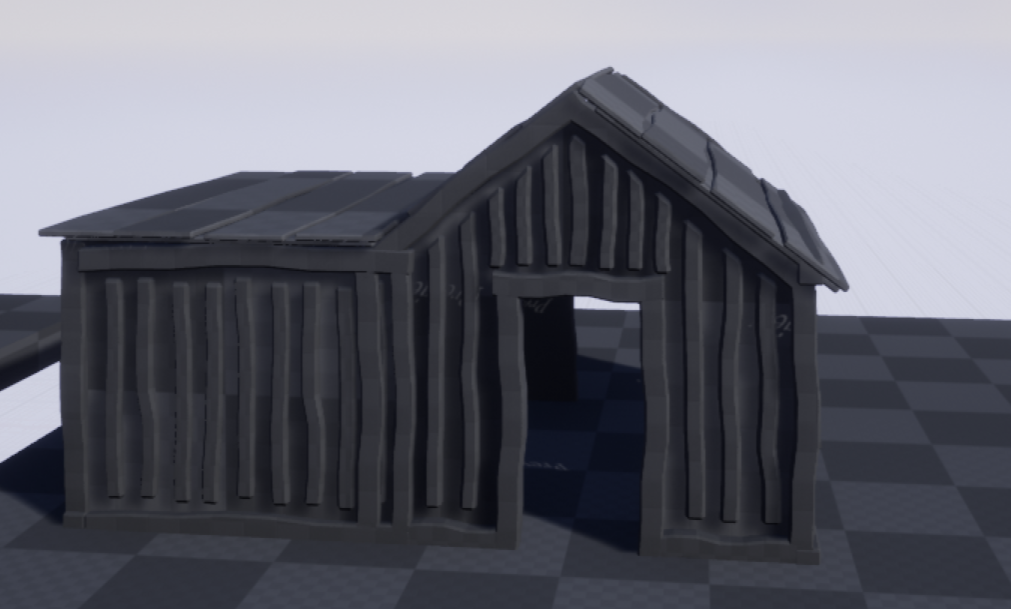
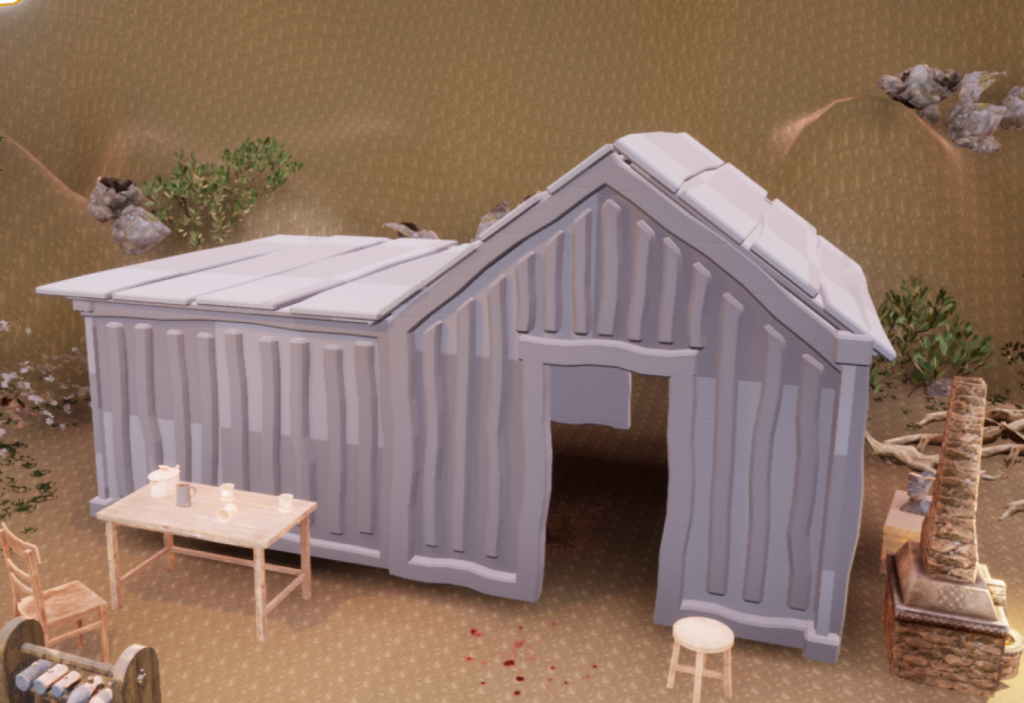
First I had to make an untextured building with the pieces I found in the Asset Store. I spent a little while in the Asset Store looking for a building set that I could make as I see fit with the plans I had drawn up. Because we had already decided on who was going to do what, it made the start of the modelling easy as I could just get straight into the building. I had to download the pack from Sketchfab and then import it to Unreal and pull aside the building parts and start to scale and rotate them building up the blacksmith.
Textures and Importing:
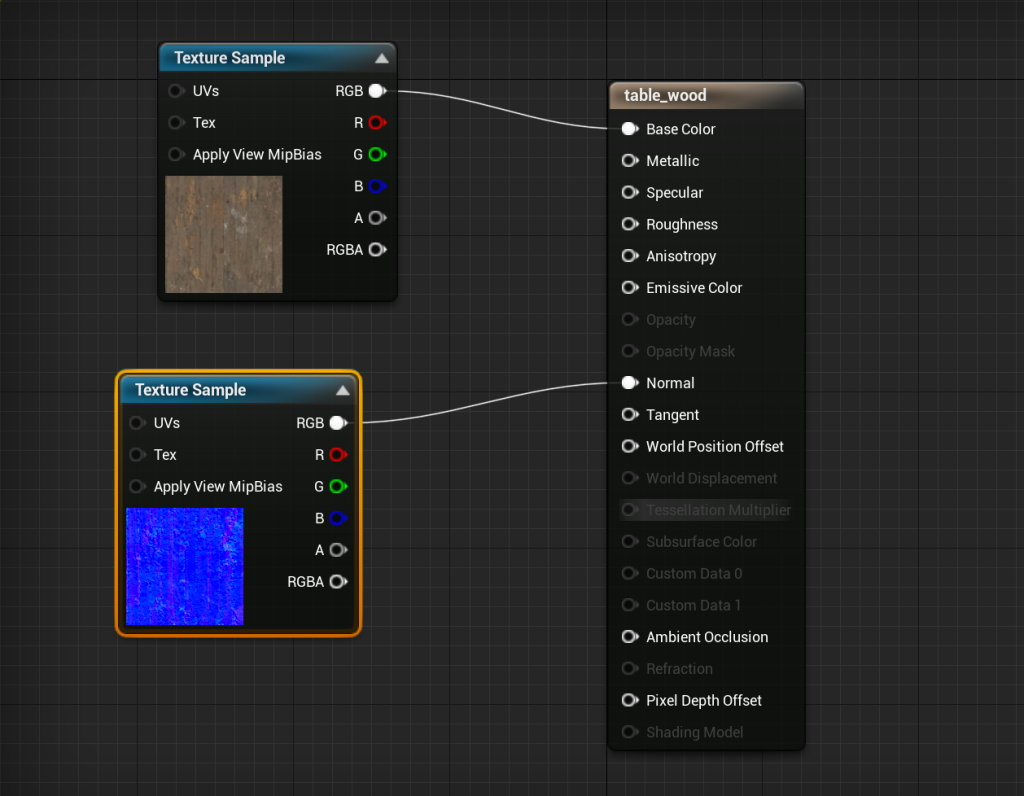
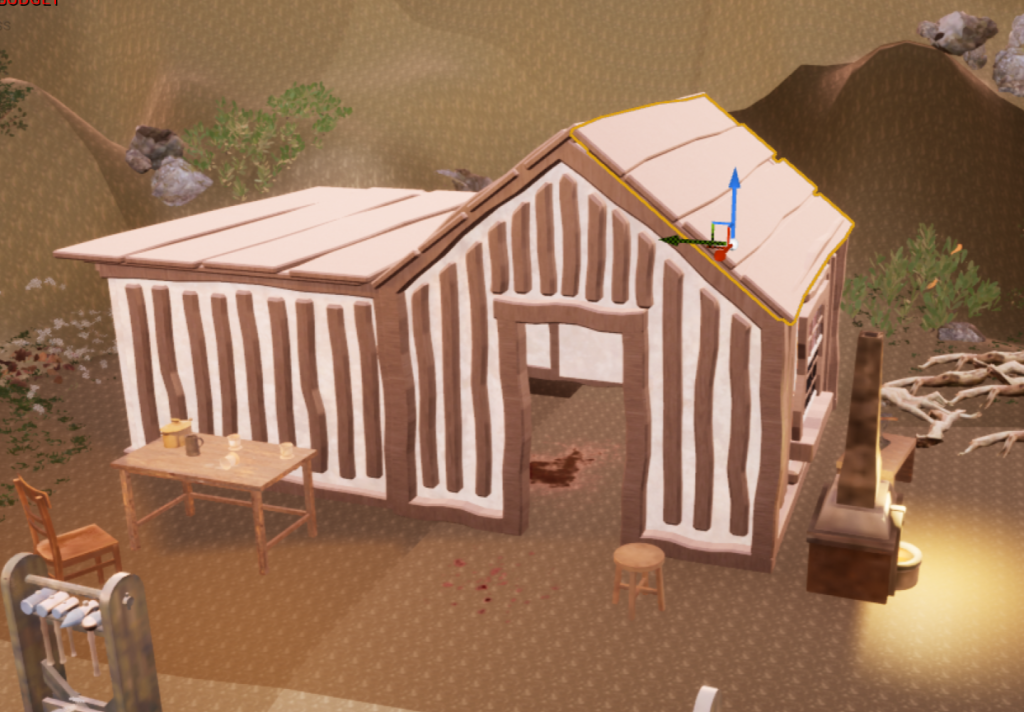
For the textures for my blacksmith, I mainly used the textures that came with the assets and then got some from Substance Painter by exporting them. I then, in Unreal, made a new material and connected the nodes as needed for the texture, then applied it to what needed it. I found this helped me keep a very solid colour pallet to create a good sense of colour theory as everything matched with each other and there were no harsh textures as it is meant to be quite a neutral area in the hills.
Once I set up each of my textures, I started to apply them to the correct assets. I chose a natural colour pallet for harmony, and from the moodboard, we saw that Japan didn’t have too many bright colours, normally only one highlighting item in a poor man’s home. I chose sandstone for the walls and the wooden boards for the roof and trimming as this makes sense for a realistic building.

I had to import my building from my blockout file which was simple enough but caused some issues that I go into and fix later on, as it took me a while to notice the UV clipping.
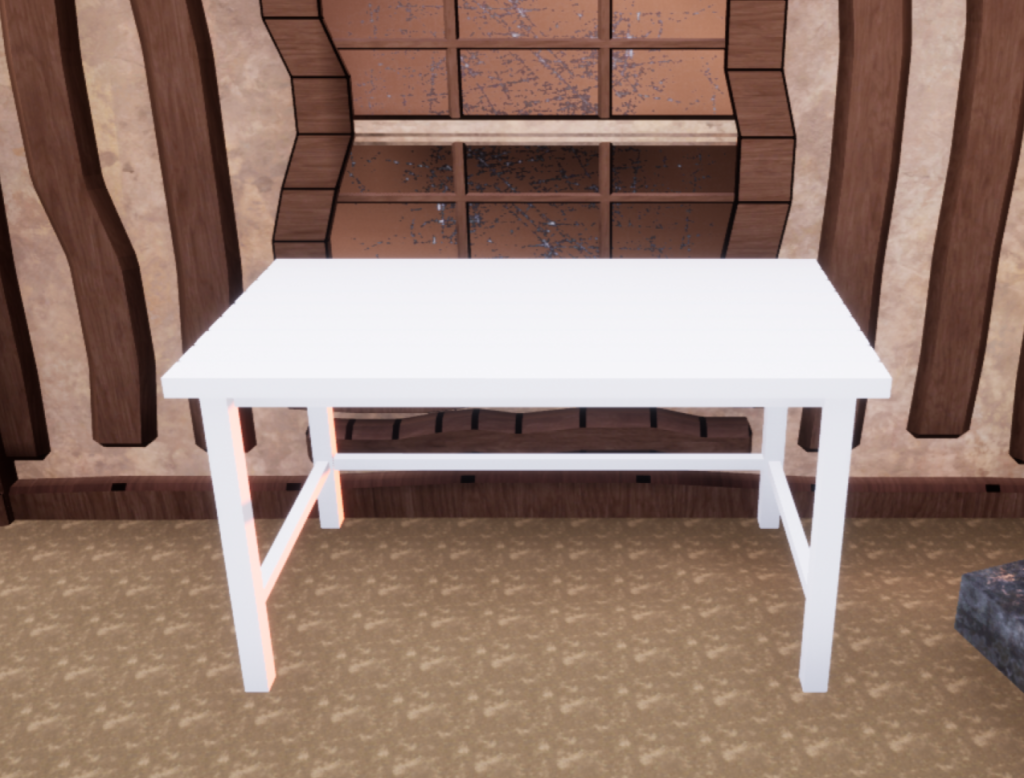
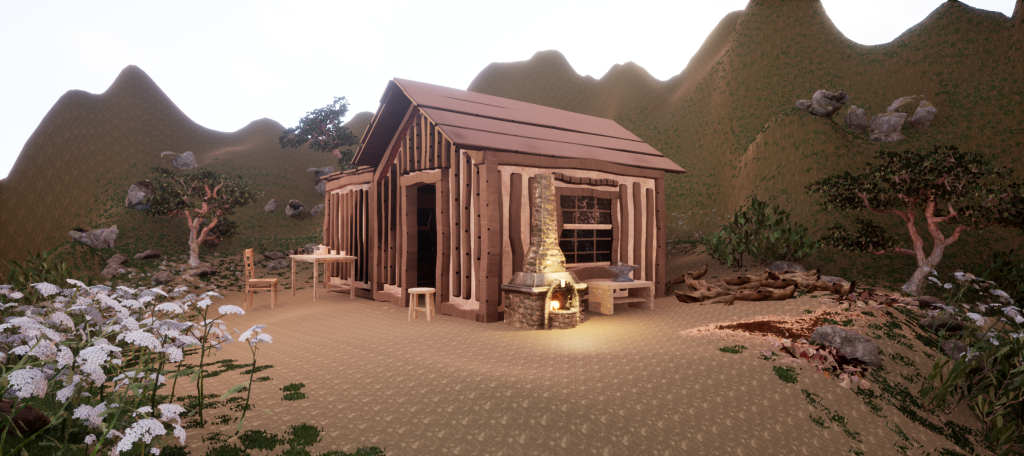
I now started adding my assets into the scene, and I started with what my hero asset would be sitting on and chose a rough-looking table and placed it in front of the blacksmith’s workplace, as an area of peace for him. I also found that having it in the front highlighted the assets perfectly.
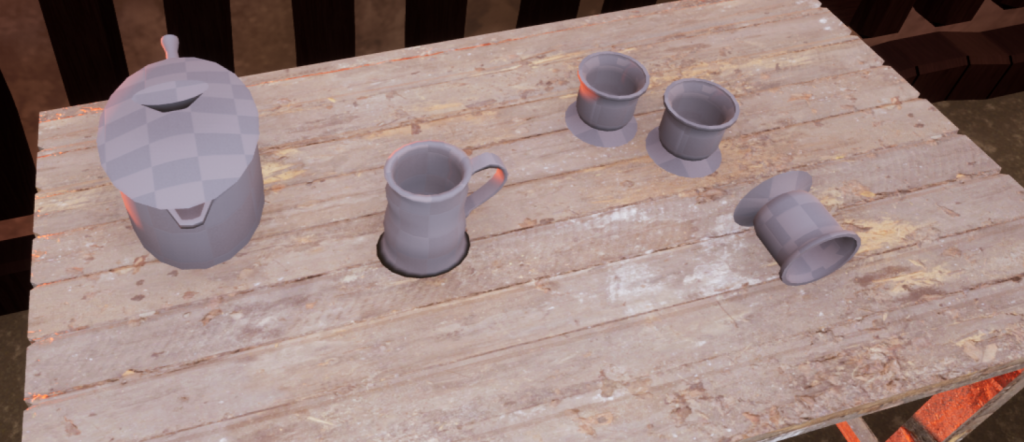
Importing my Maya hero assets and texturing them was relatively easy, I wanted it to look rather natural and spread out and I had a cup knocked over from the panic. I spent a bit making sure to get the placement looking as natural as possible, as if the blacksmith was really sitting at the table before the attack.
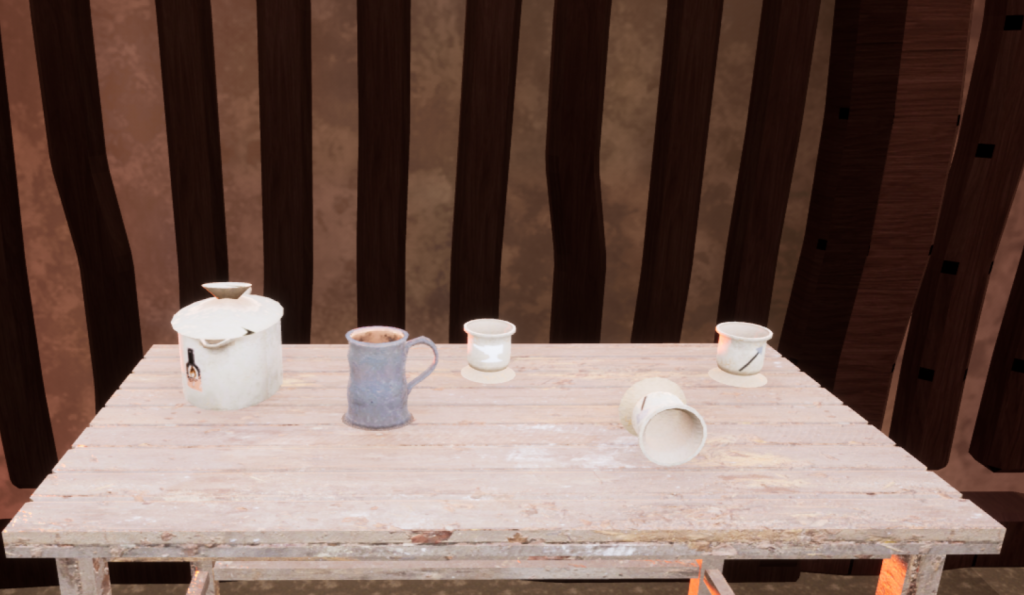
I wanted to make sure my textures did not become messy so put each one into its own folder for ease. Importing the textures wasn’t too hard and I just had to make a material for each asset, adding the PNGs where needed. After applying each texture, I had to rotate the assets to make sure the engravings are visible to the camera.

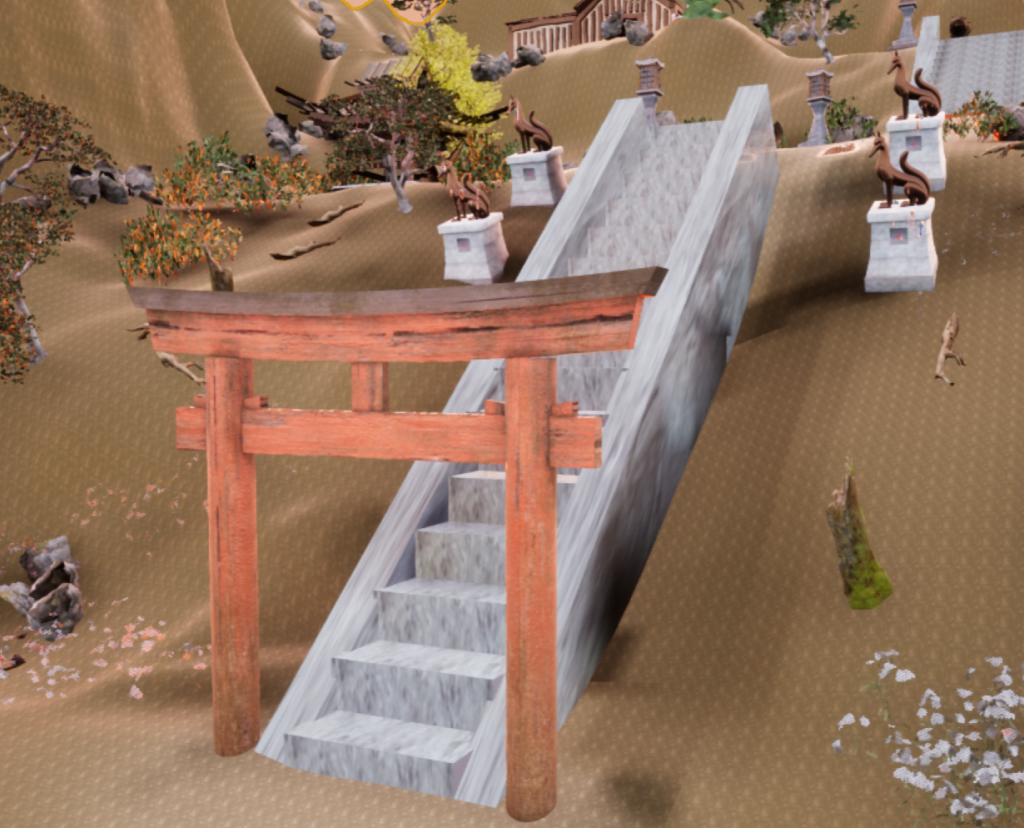
When importing my building I noticed that there were some scaling issues with my friend’s work and made the stairs and gateway much smaller to keep proper scaling. I just had to duplicate the stairs and scale both sets down to create more even steps that are also of a realistic length. I also resized the gate to be slightly smaller and made the top of it come down lower.
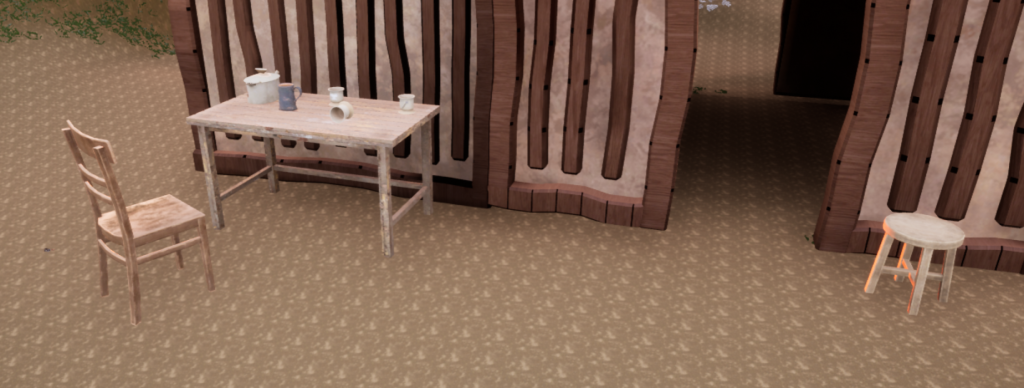
After adding the main hero asset I wanted to busy up the outside, so I added chairs and such likes to make it feel more like a used area. I tried to place them in very natural positions being careful of spacing and scale. To keep everything using the same scale I used the doorway as a reference for each asset so I could compare it to the size of our blacksmith.
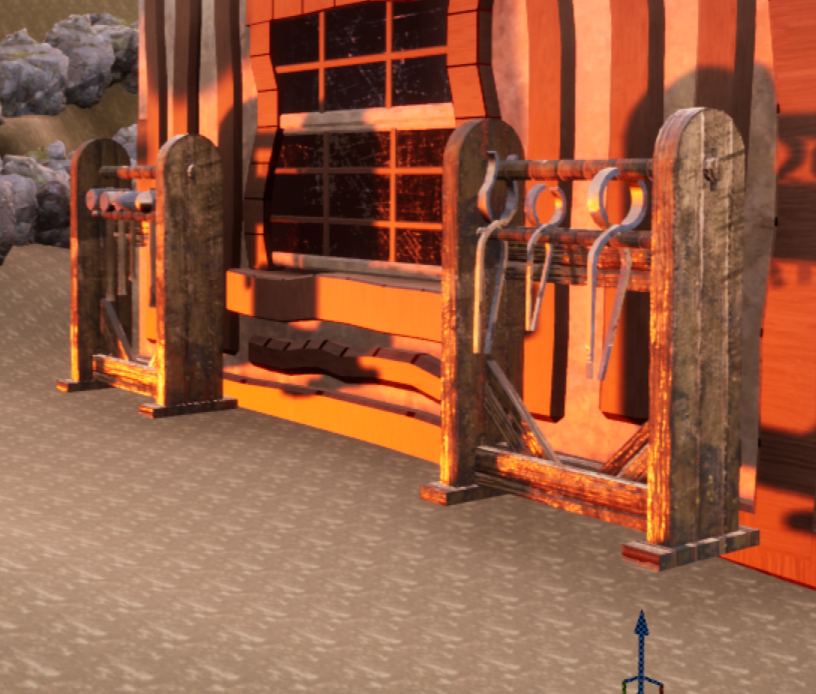
Then I wanted to place the outside tools, and these were the bulk of my found assets as they were very fiddly to make look right, put the tools onto the rack, and texture. I had to use my own textures for these as they did not come with their own, so I got creative and changed the shade on the table texture for the racks and any metal is the same as my tankard texture.
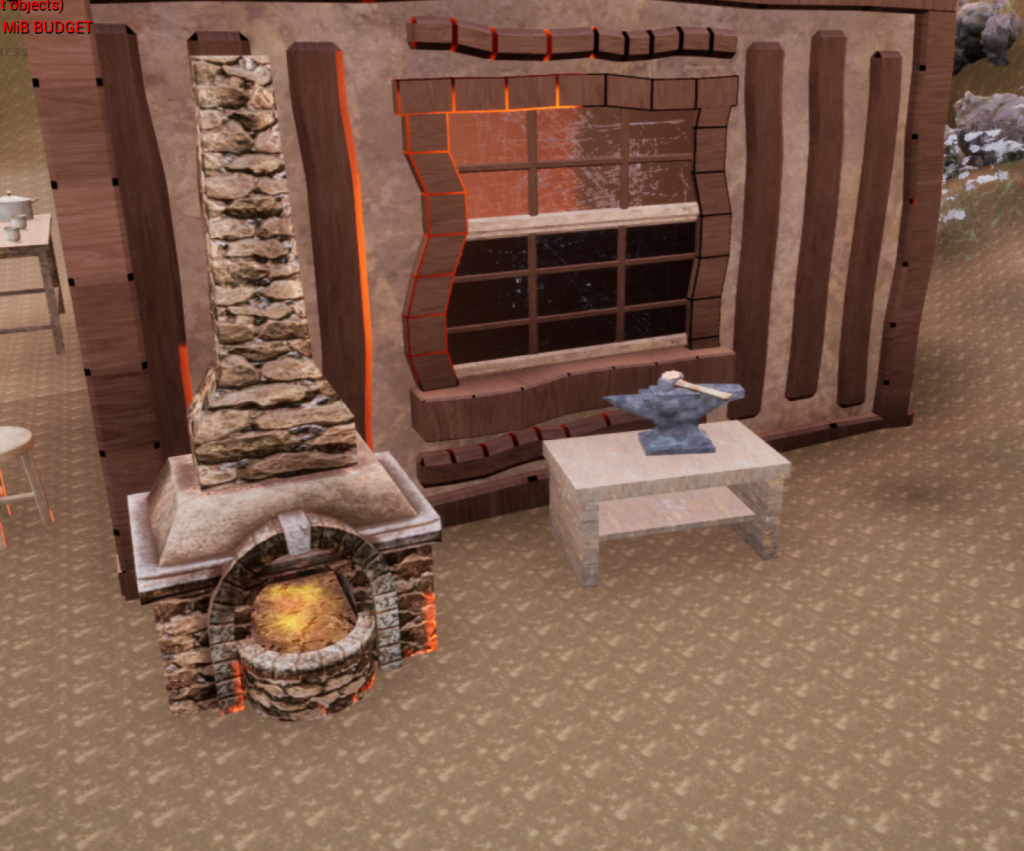
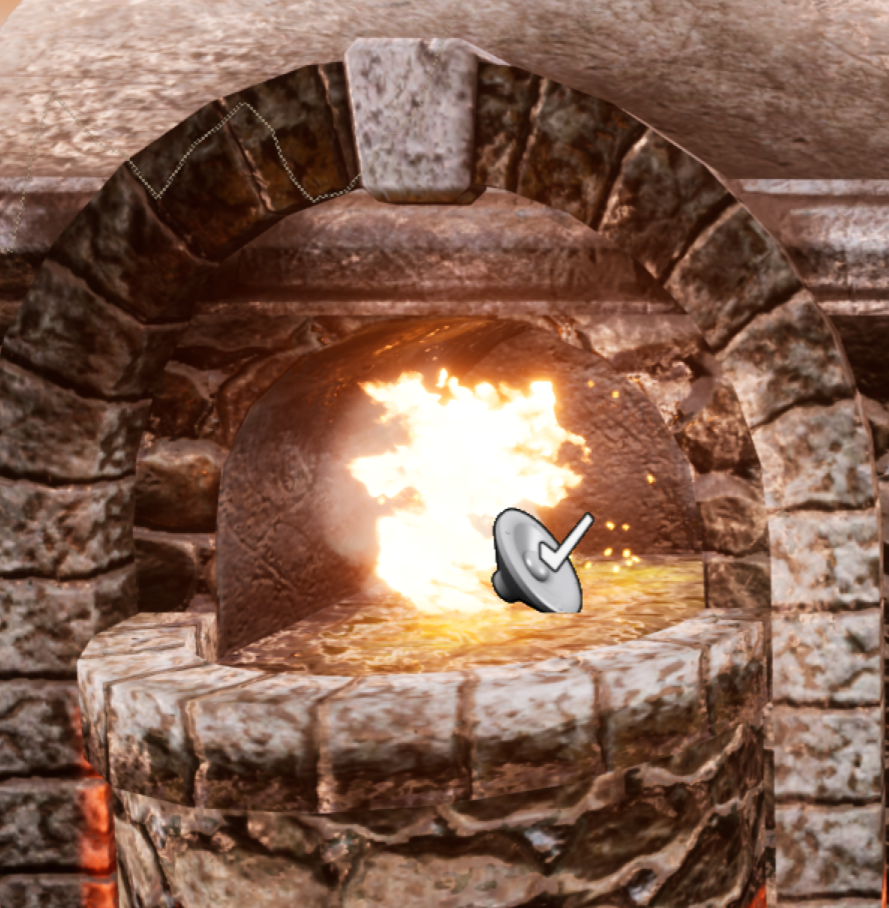
Another big area was the forge area and once placed in, I textured them and I had to use my own for the anvil and table as they didn’t come with any, but I believe I got them to fit quite well without any sharp lines. I placed the forge where there is a lot of space in front as when forging you need that space for materials and such.
Particle effects:
After I was happy with my found assets and everything was in place, I started to add fire to the forge and chose to do this to create a lighting effect in order to create dynamic contrast within the piece. I went into starter content and used the fire blueprint for this. I used Scale and changed the intensity of the fire and carefully placed it within the forge and ensured there was no clipping in the asset. I want the forge to be lit as it looks like he was attacked as he was working on a break.
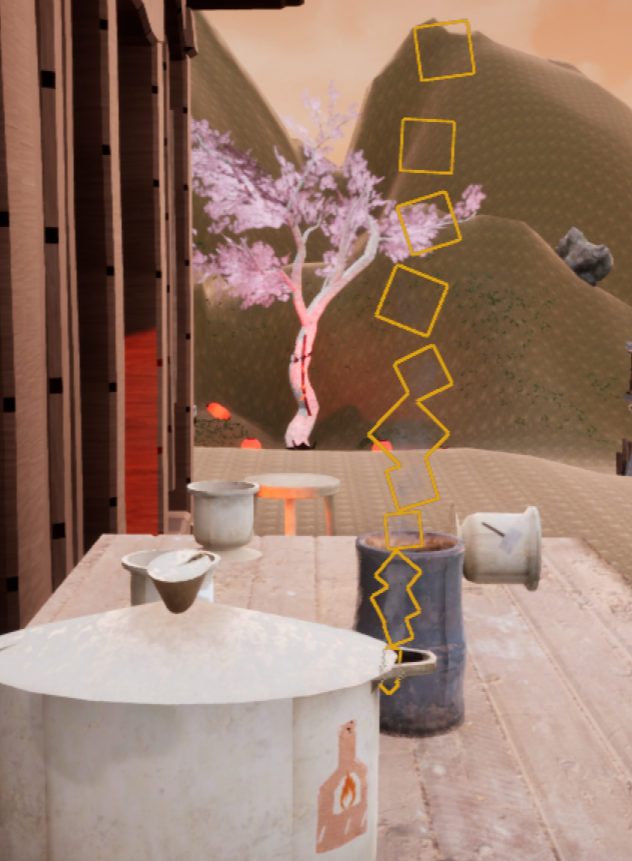
I also wanted smoke coming out of my teapot to show it has recently been heated, as well as to make the assets stand out more as they are my hero assets. I used the smoke particle blueprint to make it and had to be very precise with my placement so it only came out the spout.
Bug fixing:
After I built the lighting I noticed I had an error about my texture streaming being over budget so to solve this I opened up the console commands and enter the command r.streaming.poolsize 4096 as this increases the amount of memory it can use, therefore getting rid of the error. Our world is very large and has a lot of textures, and this is a very common error that I was expecting, which made it easy to fix.
Decals:
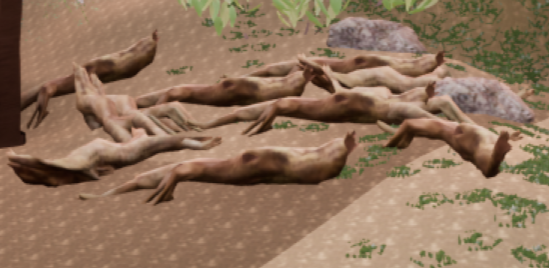
To make the ground look a little better I added some blood and grass decals to stop it from feeling so flat. I used Scale and Rotation to spread them out and make each one look different. I painted in the grass and foliage using the Foliage Brush. I added a lot of foliage to my area including rocks, bushes and a large tree.
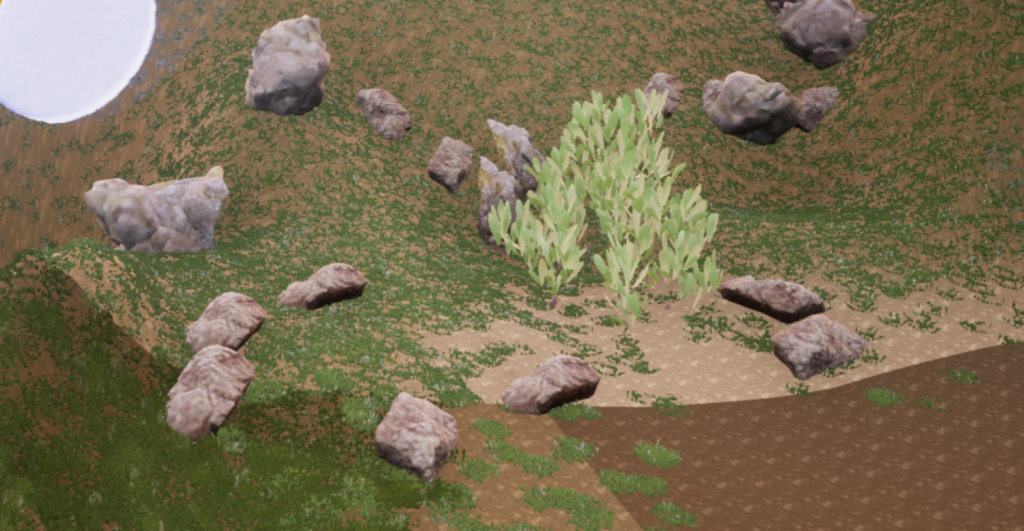
There was already some grass and rocks made by my teammate, I just wanted to add more to help make my area look like it blends into her world. After adding the foliage it really did blend the areas and also made the top of the hill stand out more which is good as that’s the main area.
I added a woodpile next to the fire as well using the brush as it makes sense as the blacksmith would frequently need to add wood to top up the forge for his job. I also think it helped fill out a large blank area as I could not find a nice asset to go there.
When I tried to take my first beauty shot I noticed I had these black spots and to fix this I had to make the building again as it had UV overlapping. Luckily this didn’t take too long. To remake it I just put the assets in again and added the textures again, I remade it in such a way you could not tell. It only took around 15 minutes.
After this last bug fix, I could move on to lighting and getting the video and screenshots.