
3D Design: modelling
Maya:
I have never used Maya, so before I started modelling I did some of the small tutorials on canvas to help me get used to the software and I also found youtube a very valuable resource as I could find people giving me a basic overview of the UI so I knew where to start and what workspaces to use.
Three cups:
I started with what I believed to be the easiest of the three objects (being the cups) and to start I simply created a cylinder and made two-loop cups at the top and bottom so I could delete the top of the cup and then I increased the thickness of the cup to give it depth. I then clicked faces I did not find important and grouped them to lower the poly count at the end, such as internal faces and on the bottom as these do not need to be high detail areas. Then looking from a side-on view I created the stand portion at the bottom by selecting the bottom two faces and pulling them out by dragging the scale on the two faces only, and on the one above it I dragged them in to create a little lip. On the top, I clicked on two faces and scaled them outwards only a little to create a lip. Once I had my low poly version I set that aside and made three copies to be my high poly ones and pressed 3 to smooth it.
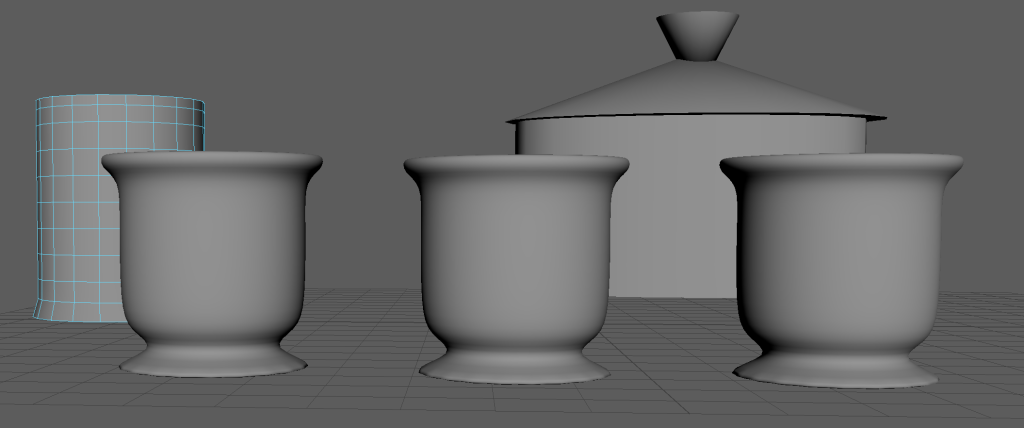
Tankard modelling:
I imported an image into Maya before starting my tankard and looked at it from a side point of view then imported a basic cylinder. Again like the cup I had two edge loops to get rid of the top and then I increased the thickness of the tankard, I wanted this thicker than the cup as it is made of metal and hand-forged so it has a more warped shape to be realistic. I included pictures below of my process of modelling the handle to the tankard. For the handle, I got a small cube and moved it where the start of the handle is on the photo and extruded it in parts to create a very smooth and detailed handle.

Teapot modelling:
To model the teapot I used a cylinder and then scaled it to how I liked and made it wider, using a loop cut and thickness to create the inside. The lid is made from two cones that were scaled and then I attached the handle on top and used the combine tool to make it one object. For the side handle, I used a cylinder again and used a loop cut and extruded the top partly to create a wider top that looks better, then combined the two objects to make editing easier. Some images below show my progress on adding the side handle and the spout.

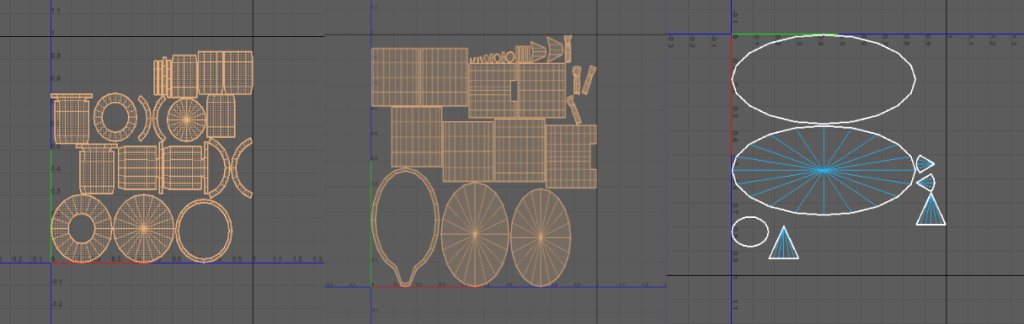
UV unwrapping:
After both sets of models were done I made two separate files, one for the low and one for the high poly, and I used 1 and 3 to change if they were smoothed or not. After making the lid high poly I needed to resize it as it shrunk to a third of its side, this was simple to do using the scale tools. My low polys were under 5k and my high polys were under 10k. To get the UVs I went onto each low poly model and went into the UV menu and selected automatic and lastly viewed them in the UV editor to make sure they were correct.
Baking:
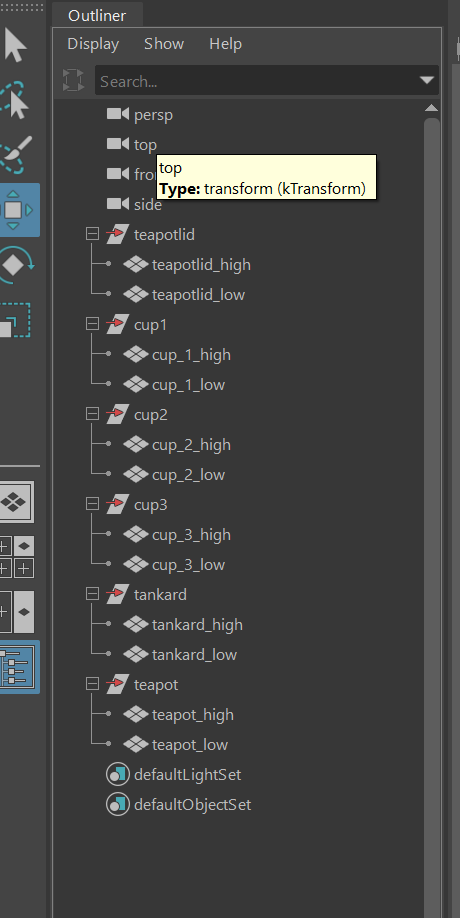
First I organized all my names and groups as this allowed me to easily hide and move groups around and when exporting I could easily see what is what from the names alone.
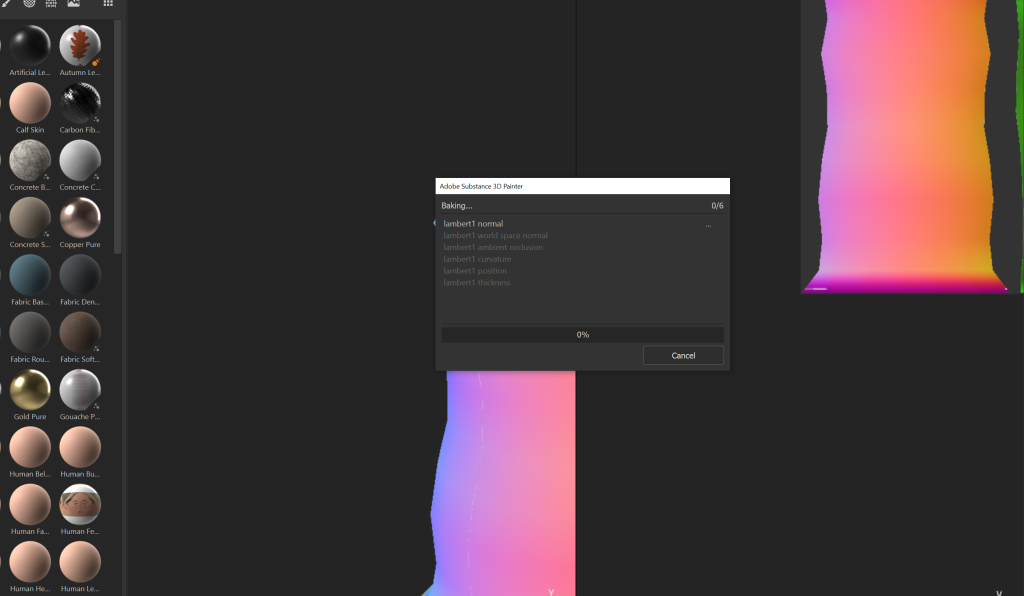
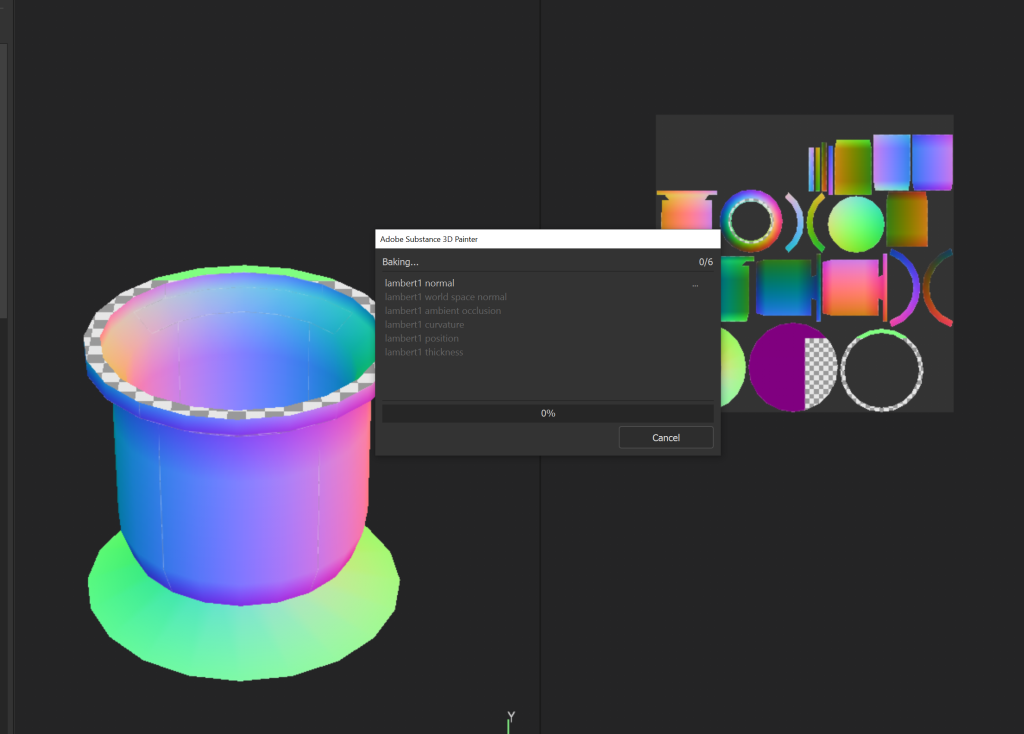
(Some images of me baking)
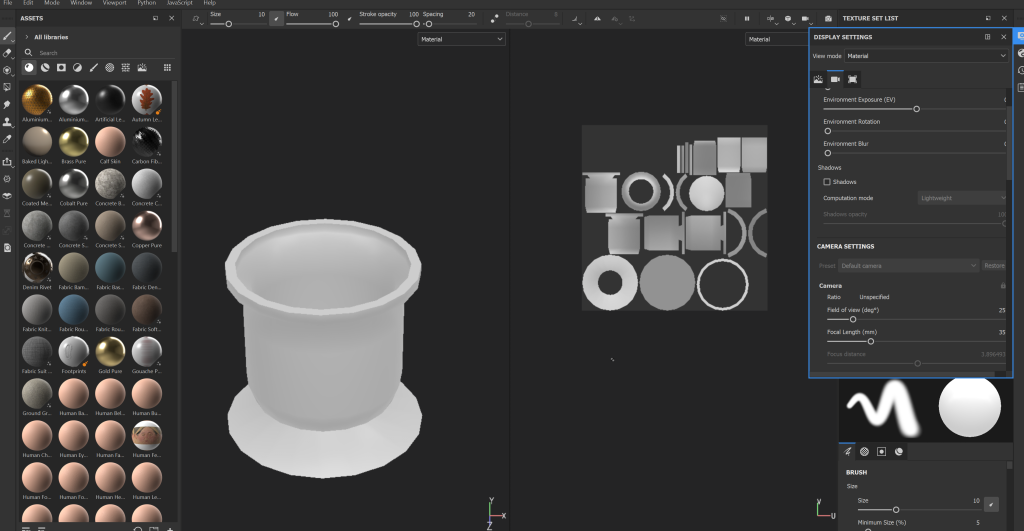
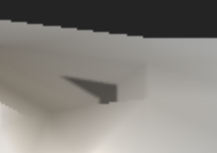
When baking I imported my low poly models into substance painter then went into baking settings and chose to bake with high poly and selected my high polys. Once I had each of my baked models I exported them again and put them back into Maya. I had issues when baking the teapot, with a black spot appearing, so I made my low and high poly into triangles before importing. I found that turning them into triangles before importing fixed any possible polygon clipping.

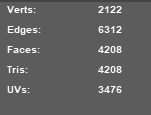
These were the poly counts of my models when in Maya so I kept tris under 10k and UV under 5k.
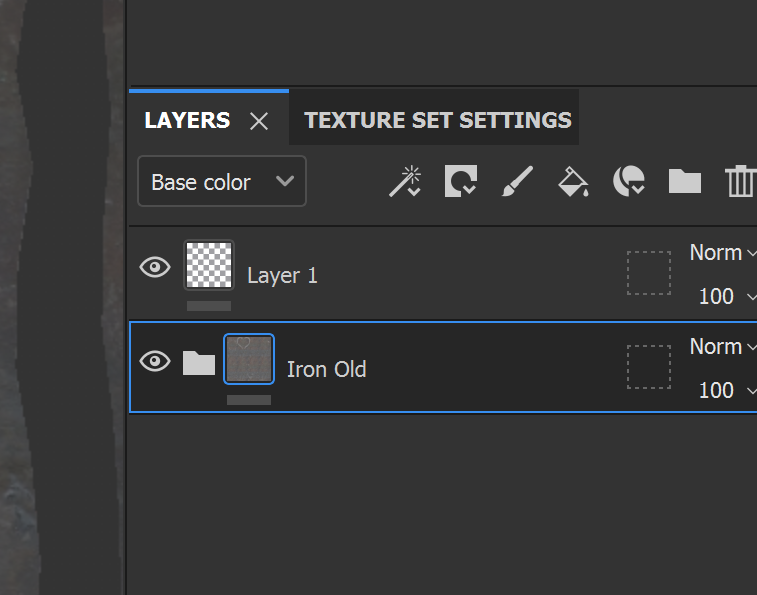
Textures:
I added textures in substance painter and with each texture I added, I made a blank layer as this allowed me to put the texture only on certain parts of the model. To add deeper scratches I duplicated the edge’s black layer and I found this makes my blemishes look a lot more impactful. The textures I used were Iron Old, Creature Teeth and Stone Smooth. These are all free to use within substance painter. Changing the layer opacity gave me the look I liked as I turned the dirt and gunk layer down to avoid it looking too much like a bone texture. I found the tooth texture made a very interesting pot texture. I used a gold texture and a small paintbrush to hand draw the cracks onto the models.
I went in with the brush and alpha stamps to draw the fine details onto the models as shown in the photos. In another tab I had my concept art open so I could keep as accurate as possible to the original design. I made sure to keep the colour palette very similar so as to look as if from the same set and when adding detail I used a drawing tablet for fine lines.
